Rifle Barrel Torque (Step-by-Step Guide)
Jump to: TL;DR • Video Transcript • Related Guides
Rifle barrel torque is one of the most important steps in rifle assembly. When done correctly, it improves accuracy, prevents damage, and keeps your rifle safe. Many shooters make mistakes because they use the wrong tool or apply too much force. In this guide, we explain each step clearly. In addition, we show how the Rokin Action Wrench Socket makes the process easier.
Why Rifle Barrel Torque Matters
- Accuracy — Proper torque keeps the action stable. As a result, your shots are more consistent.
- Safety — Loose or overtightened actions can shift during firing. Therefore, correct torque reduces risk.
- Durability — Correct torque protects threads. In addition, it helps your rifle last longer.
Want more precision tools? See our full collection.
Tools You Need
- Torque wrench (set to 75 ft-lbs for Solus actions)
- Rokin Action Wrench Socket
- Nickel anti-seize for barrel threads
- 3/8" extension
For factory torque values, check Aero Precision Solus support.
Step-by-Step Rifle Barrel Torque Process
1. Prep the Threads
Clean the threads. Apply a thin coat of nickel anti-seize, because it prevents galling and makes future removal easier.
2. Install the Action
Hand-screw the action onto the barrel until snug. Do not force it, because forcing may damage the threads.
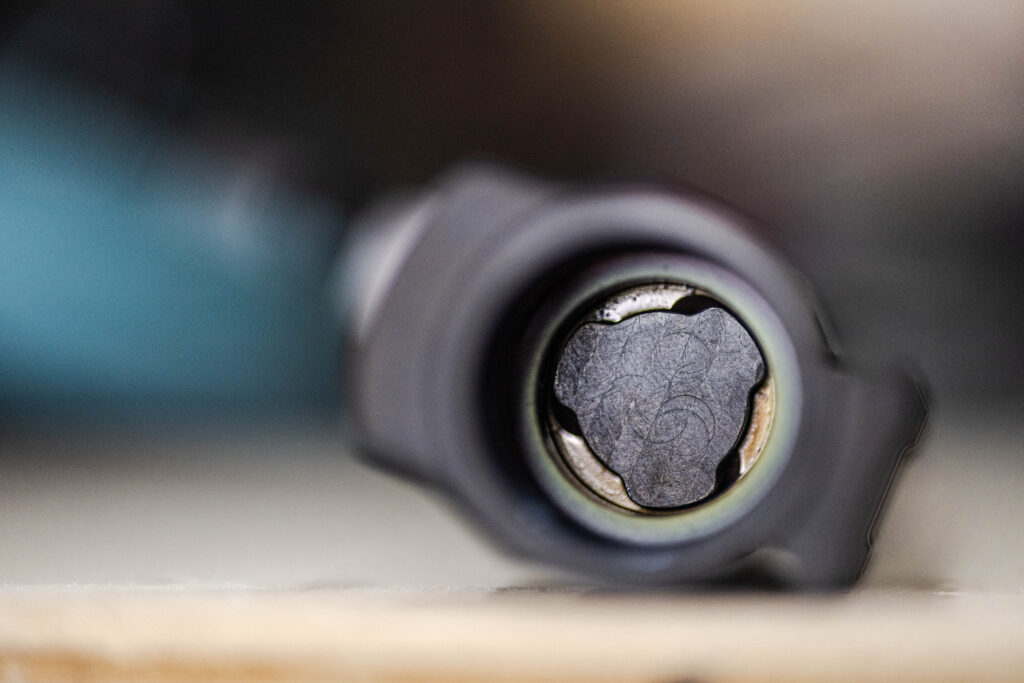
3. Insert the Socket
Place the Rokin Action Wrench Socket into the action. Align the “Top” mark with the rail. This makes removal simple later.
4. Attach the Torque Wrench
Connect your 3/8" extension and torque wrench to the socket. Position it firmly so it does not slip.
5. Apply Torque
Pull smoothly until the wrench clicks at 75 ft-lbs. This gives consistent rifle barrel torque without over-tightening. As a result, your action stays secure.
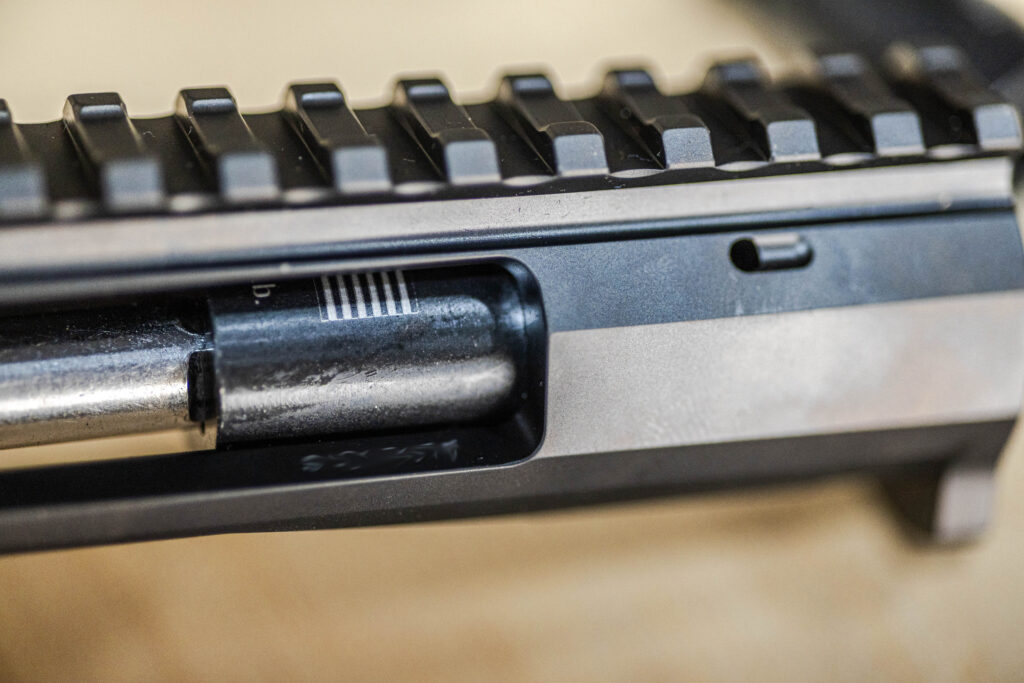
6. Final Check
Check that the action is fully seated. In addition, confirm it aligns with the top rail before moving forward.
Common Mistakes to Avoid
- Over-torquing the action, which can strip threads.
- Using the wrong socket, which may damage lugs.
- Skipping anti-seize, which makes disassembly harder.
However, these mistakes are easy to avoid with practice.
Tips for Consistency
- Apply torque in one smooth pull, rather than short jerks.
- Always align the socket before tightening.
- Record your torque settings for repeat builds.
- If you are uncertain, review the manufacturer’s documentation.
Final Thoughts
Correct rifle barrel torque protects your rifle, improves accuracy, and keeps your setup safe. By following these steps, you avoid common mistakes and make your build more reliable.
Do it right every time with the Rokin Action Wrench Socket — a tool designed for precision rifle builds.
Video Transcript (Quick)
This video shows the rifle barrel torque process using the Rokin Action Wrench Socket. First, prep threads with a thin coat of nickel anti-seize. Next, hand-thread the action onto the barrel until snug. Then insert the socket and align the “Top” mark with the rail. After that, attach the torque wrench with a 3/8″ extension. Finally, pull smoothly to 75 ft-lbs and confirm alignment with the top rail before removing the socket.
TL;DR – Steps & Specs
- Spec: 75 ft-lbs typical for Solus actions (verify manufacturer)
- Tools: Torque wrench, Rokin Action Wrench Socket, 3/8″ extension, nickel anti-seize
- Steps: Prep → Hand-thread → Insert socket → Attach wrench → Torque → Done
Related Guides